Palle Johansen 1947 Cadillac
- This topic has 245 replies, 48 voices, and was last updated 5 years ago by
 KingKustoms.
-
AuthorPosts
-
January 7, 2018 at 17:59 #55928
 Kenneth KristianssonParticipant
Nice job Palle.
January 7, 2018 at 19:00 #55929 PalleJParticipant
thanks guys…i hate grinding and polishing for hours. the first 2 hours is good fun, but then..
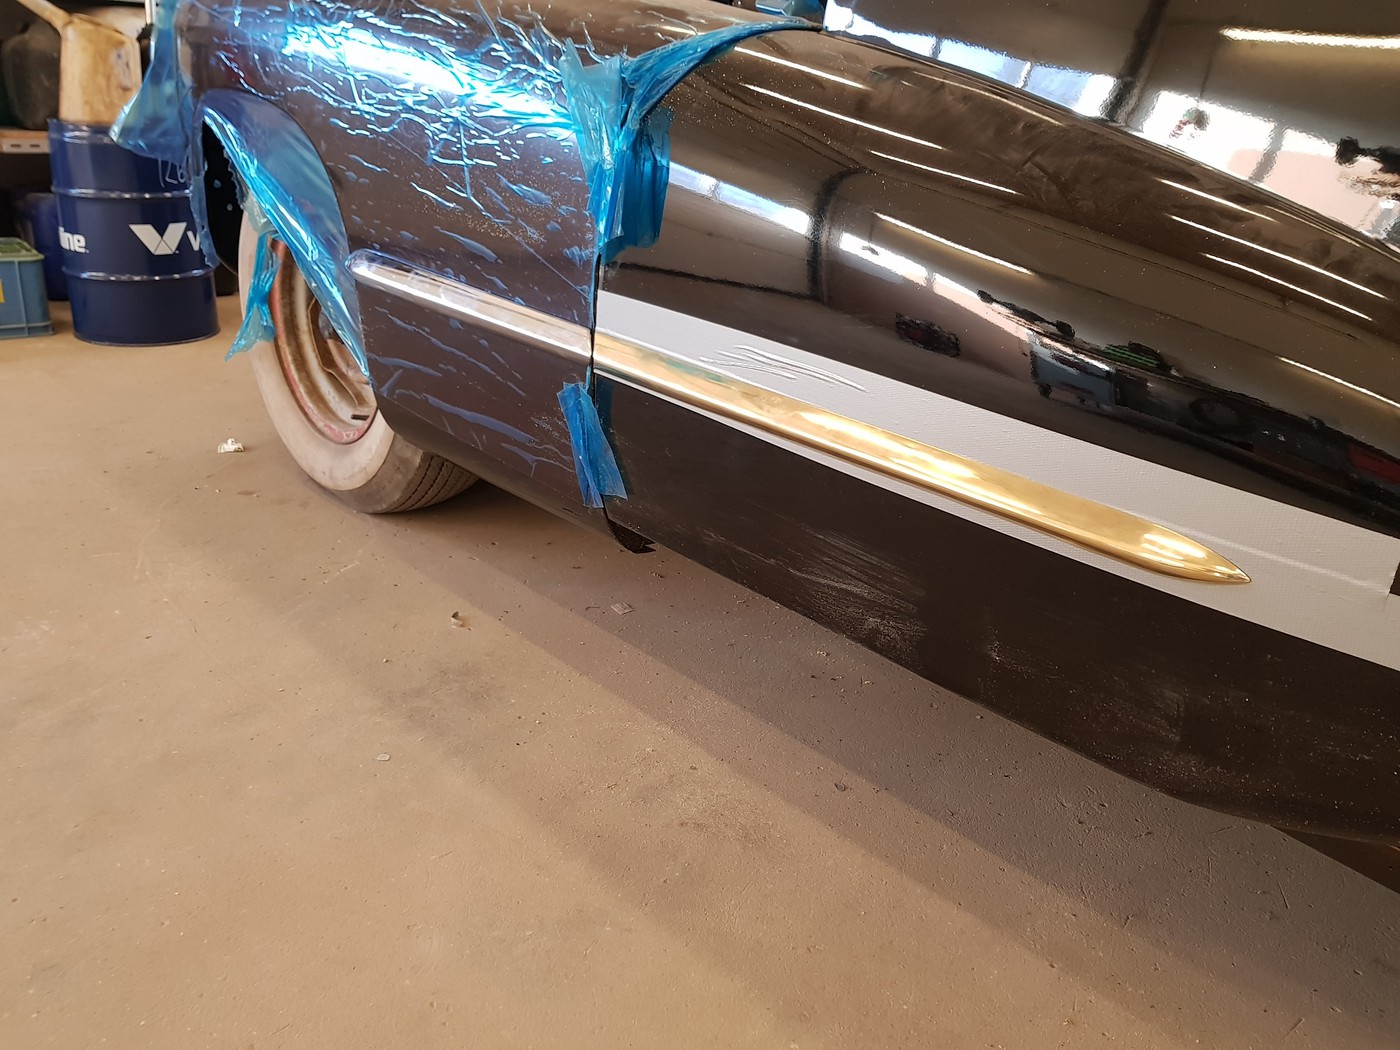
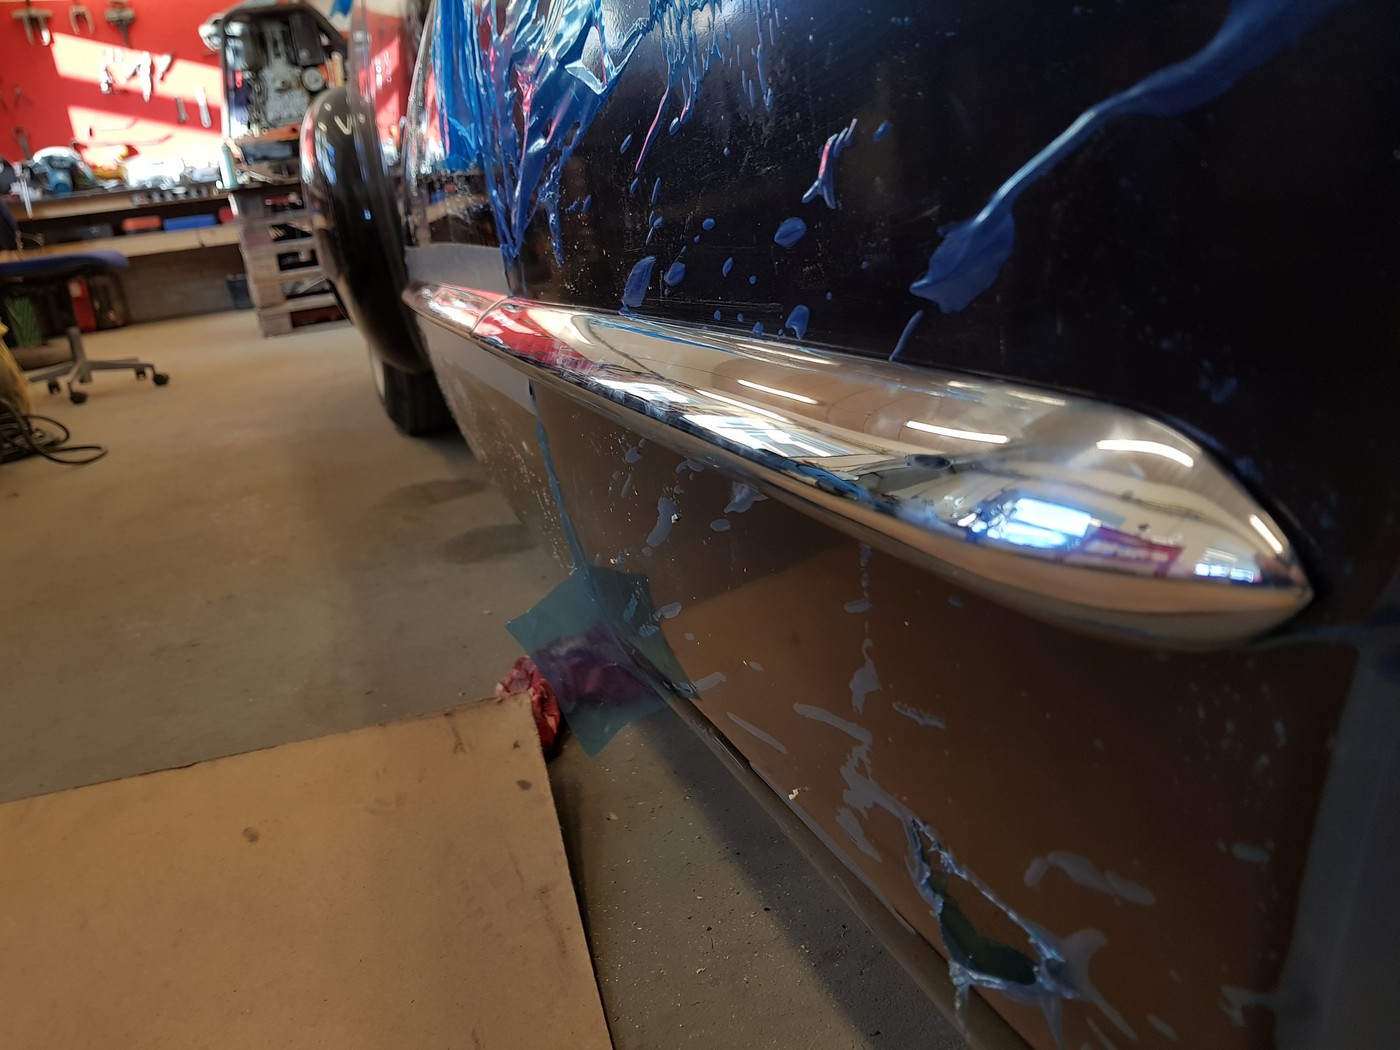
i little testfitting on the car tomorrow, and then the last few details. the brass is pretty soft, and schratches is easy to do.
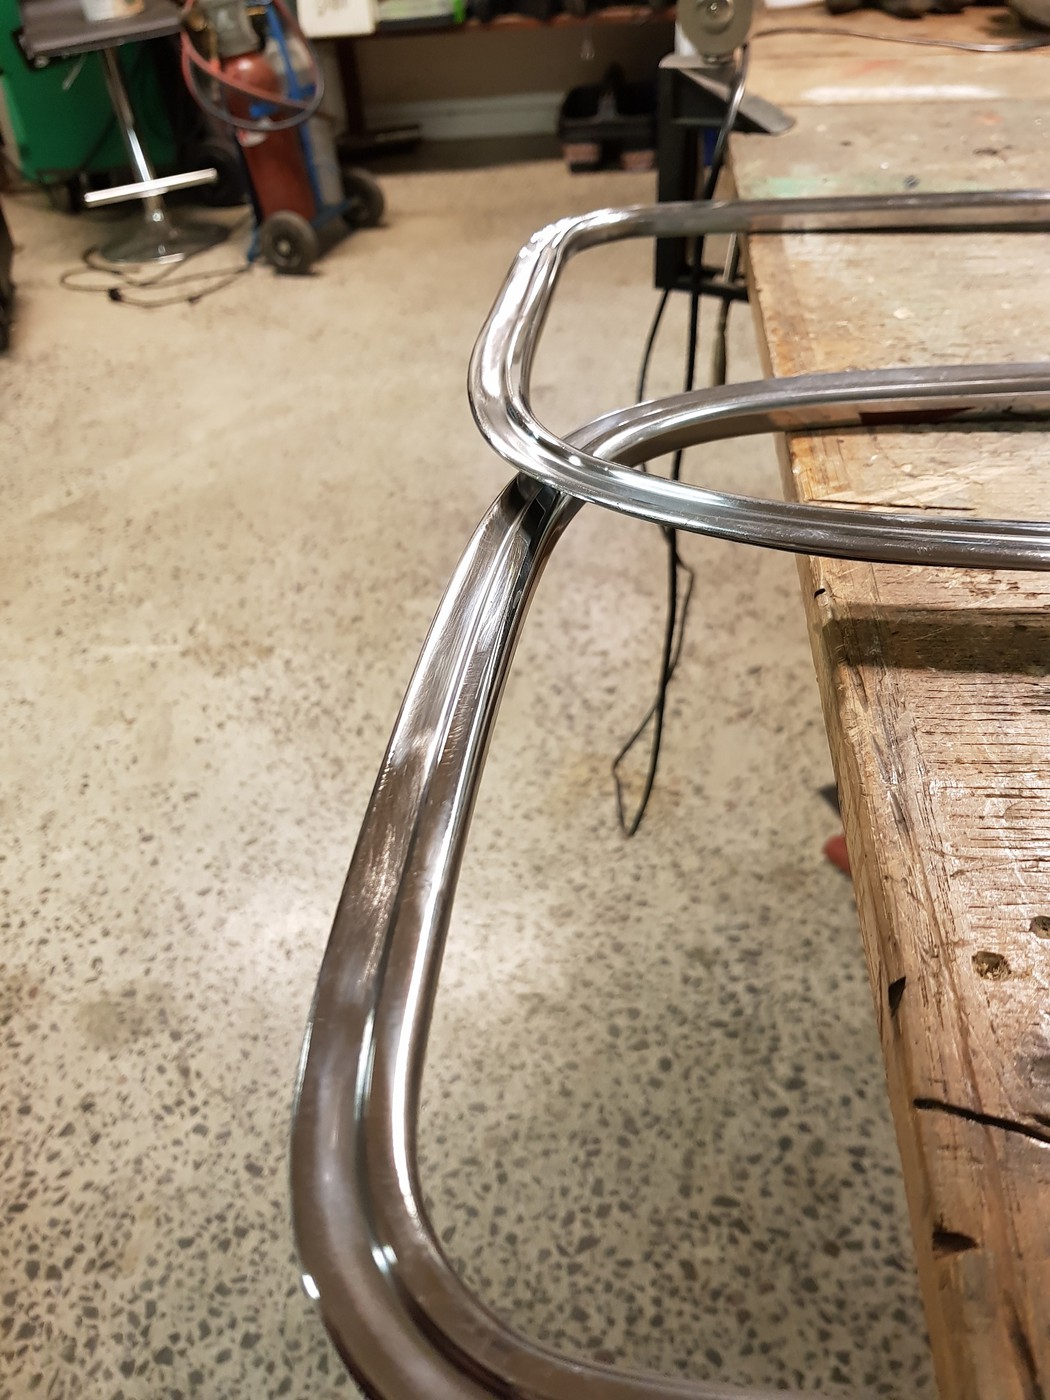
i finnished up polishing the windshield trim. it does still need some work, as you can see every little weld…its like welding toilet paper..Kenneth whats the deal with that. are you adding an exstra laywer on the backside or what?
and Luke…your welcome in that outfit…but we want to see pictures first. and i feel 20 % of the brass is in my mouth and nose. even though i weared protection most of the time.
but i am happy its done..
have a nice sunday all
 January 7, 2018 at 21:27 #55930
 Quentin HallParticipant
I have a spare pair of the outer conv windshield trim just so you know. I’m interested to know how you rolled the brass and folded it into the right radius. And also the pointed tip ends.
There is a guy in Calif who has the original factory dies for the rear fender ones. $1250 is each is probably fair but a lot of money to hang on the side of an old car. They are perfect tho.
January 7, 2018 at 22:02 #55931PalleJParticipantwe just rolled the brass, and the used a pressbrake..i am not sure its the right word. cut out the upper edge and hammer out the tip you like..then solder the cut you made. is it called silver soldering? it is here
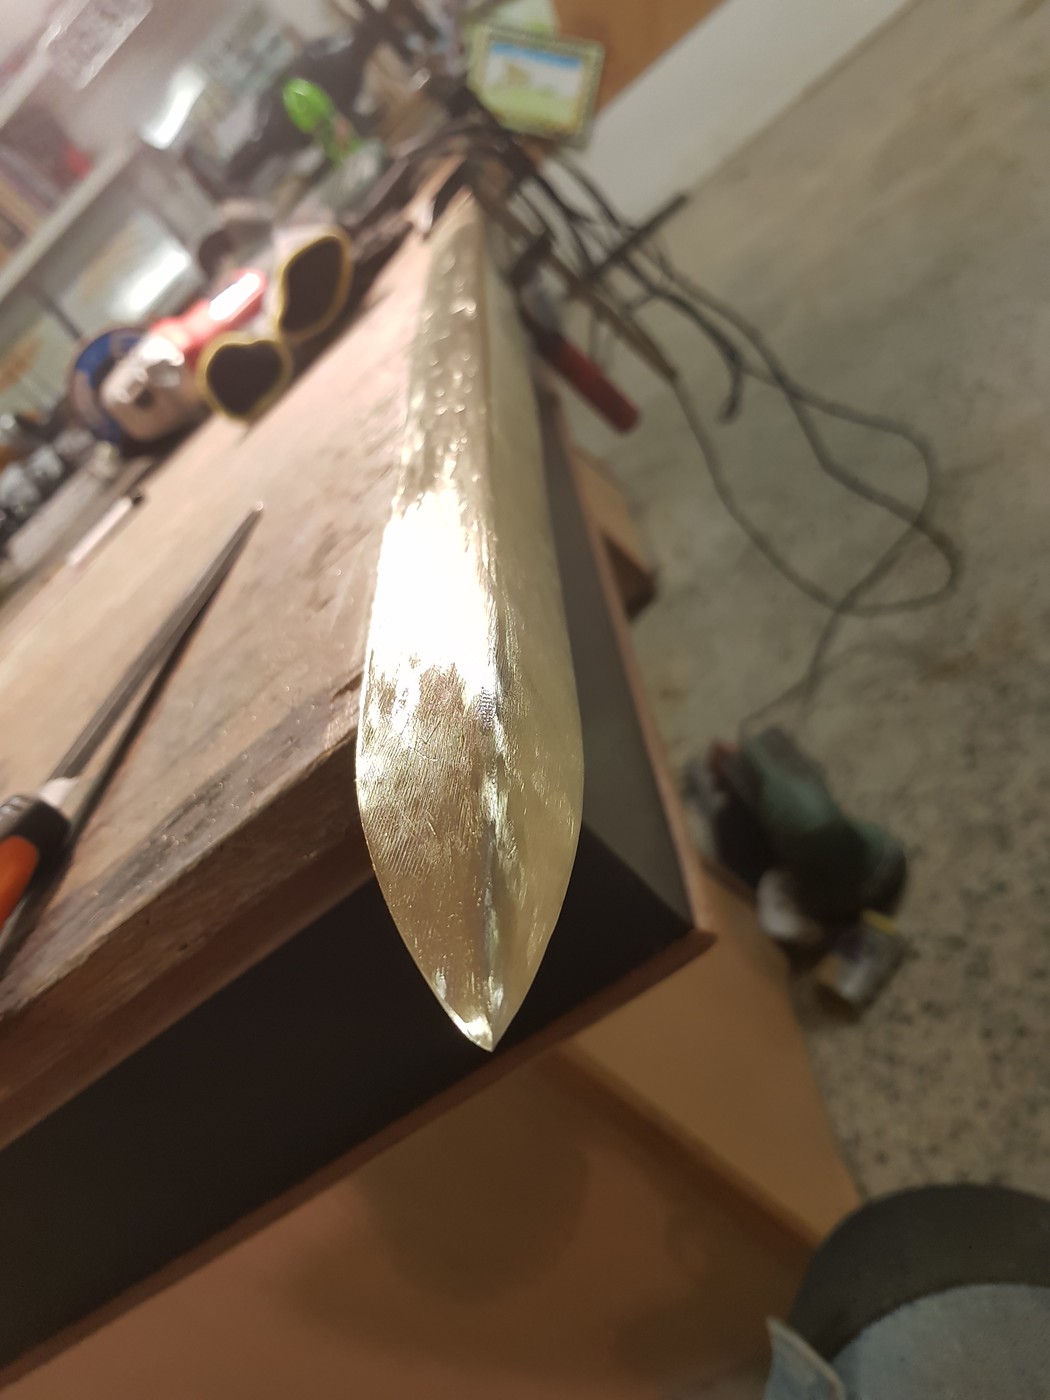
the small radius is made by hand in a sandbag, slowly hammering on the edge. surprisingly easy to do that curve. it was almost impossible to do in stainless
if i screw up the stainless trim i give you a call Mate…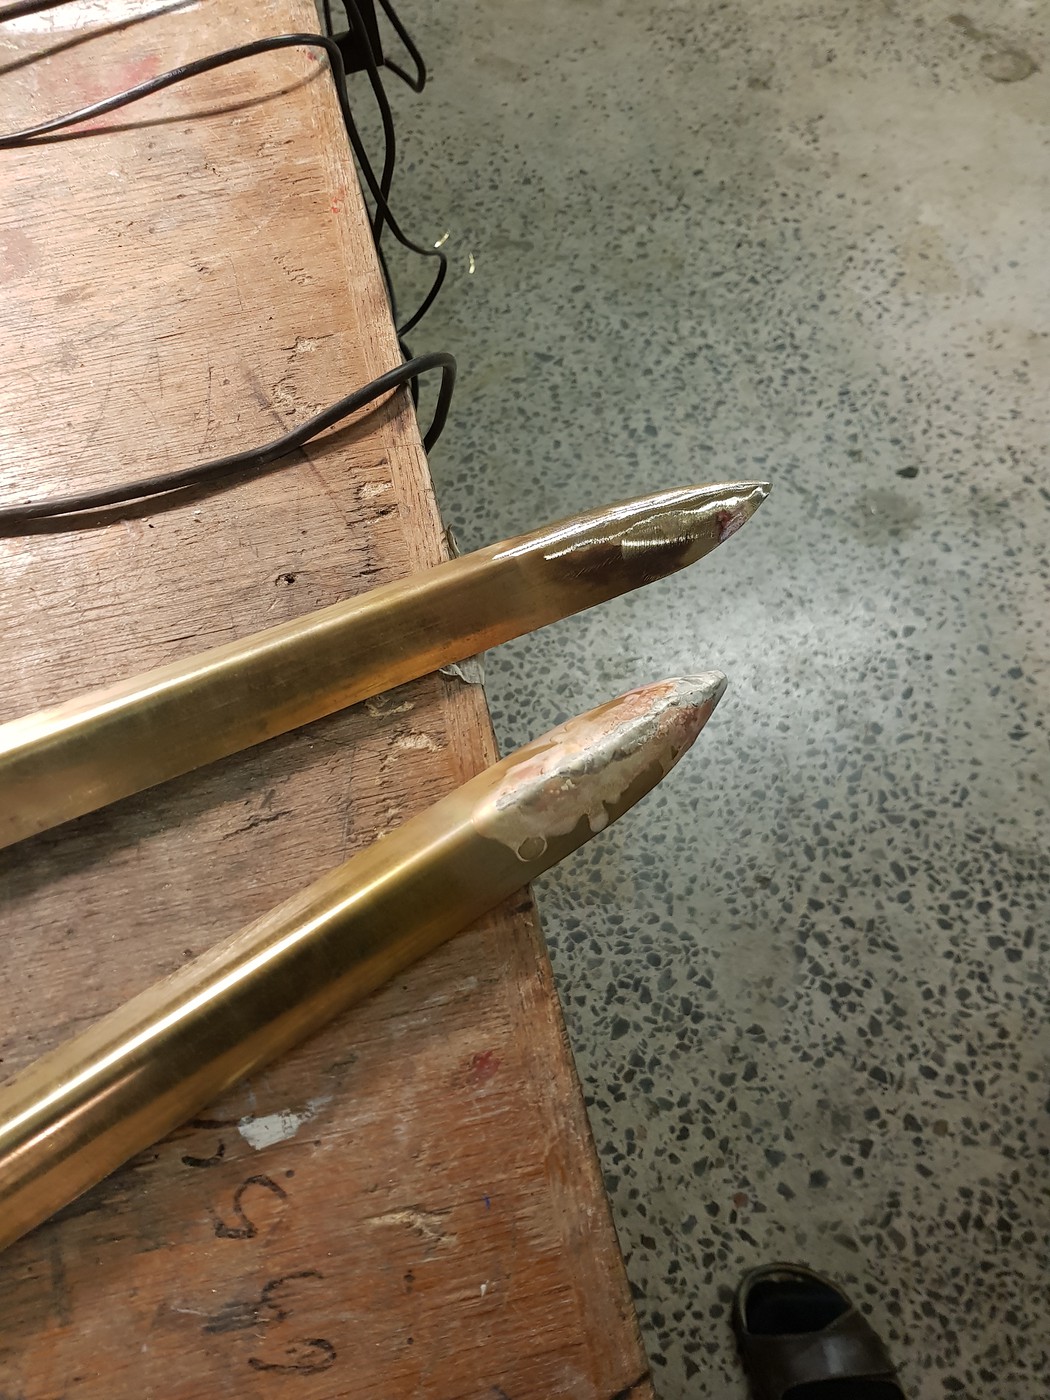

 January 8, 2018 at 23:24 #55943
WG
ParticipantCool car , looking forward to seeing the end result !
Great to see the brass trim being made , would be interested to learn a few more details if possible !
Brass thickness , type & diameter of “silver solder” ,flux ?, oxy-acetylene tip size , how hot does brass need to be (colour change ?) , any technique tips ?
January 9, 2018 at 12:02 #55973 Rik HovingKeymaster
Marking the body and drilling holes…
FITS
Enjoy the beauty of Customizing
January 9, 2018 at 16:57 #55997 Ian GibbonsParticipant
Really nice work Palle! Looks fantastic.
January 9, 2018 at 17:18 #55999 Mild MitchParticipant
Looks amazing. I have always wondered how it would be to work with brass this way, just never got the opportunity. You make it look to easy! Thanks for showing.
Mitch
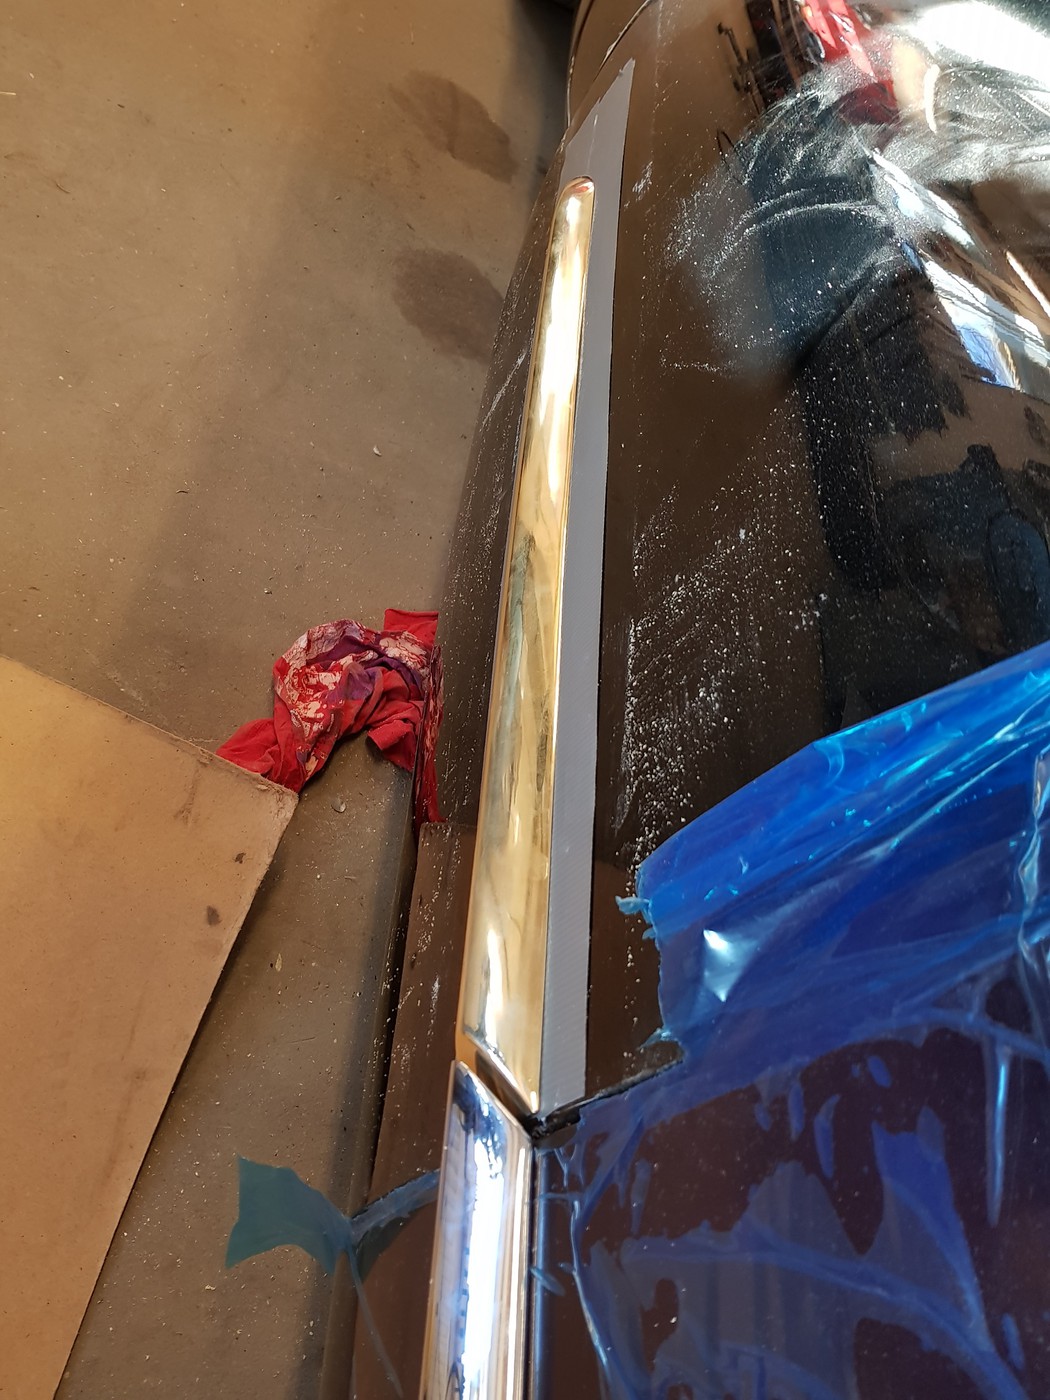
January 9, 2018 at 18:28 #56000PalleJParticipantit is 1,8 mm brass, and the solder is a 1,5 mm pen with flush…pretty easy to do, after a couple of tryes i got it
pretty good fun..i just cant wait to create something else this way hahaJanuary 9, 2018 at 20:10 #56001Mild MitchParticipantYeah! I feel there are a lot of possibilities. I know it has been done in the past, I want to try, perhaps for side trim on my ’47 Chevy.
January 9, 2018 at 23:53 #56008ParticipantThanks for that silver solder information .
I guess get the brass red , try not burn holes in it ,keep the torch moving & heat solder rod also !
January 10, 2018 at 22:23 #56042 ShanahanParticipant
Looks great! Glad to see some updates.
January 11, 2018 at 13:04 #56052 kustomlandParticipant
Hey Palle , Is the brass the same size in thinness as the stainless trim??? Also using that plastic to protect you paint while working is a good idea also…..
Looks like the trim turned out so well you might of set the new standard of making it lol…!!!
Also you forgot to tell us how you used the orange hand saw to cut the trim out first right…????
KUSTOMLAND
January 12, 2018 at 06:07 #56064PalleJParticipantLuke…the brass is thinner. but i would have preferred it just a bit thicker, but i couldnt find some when i was working on it. the plastic is pretty good i sometimes give it 2 or 3 layers on fenders and places like that. and even though the car will be painted later..you know how anoying those deep scratches to work with before final paint
and the saw must have bin the reason why it took me so long
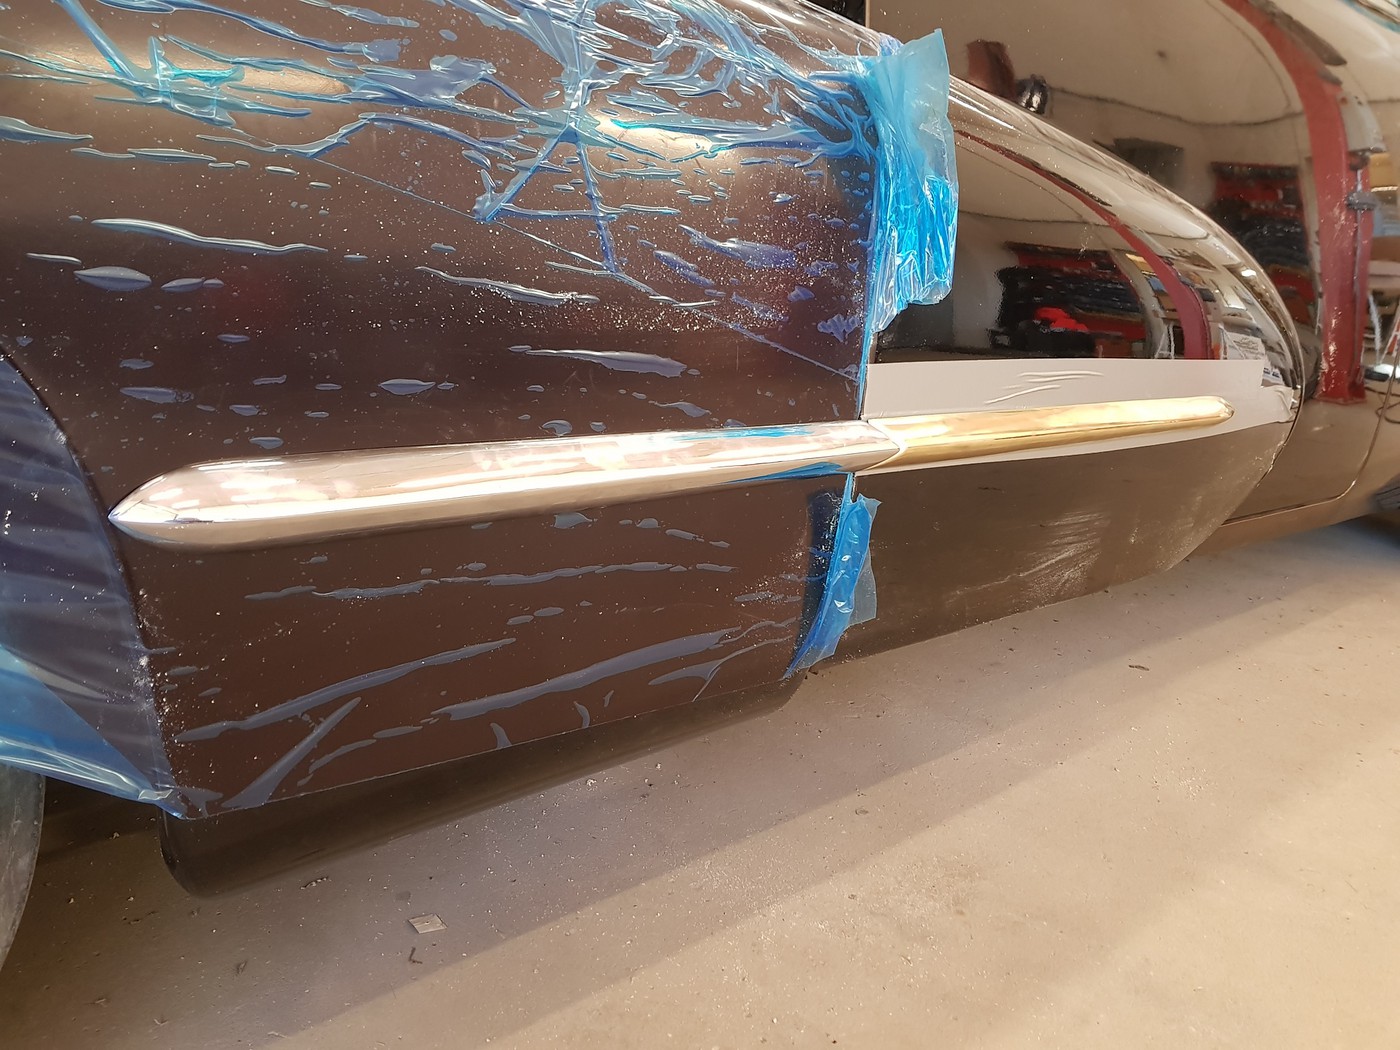
we are testing for the glass fitting using the new trim, and it runs okay. and actuelly fit under the top. the top is not the same shape in left and right for some reason..so the glass is all Kustom made haha
 May 1, 2018 at 15:17 #58472Rik HovingKeymaster
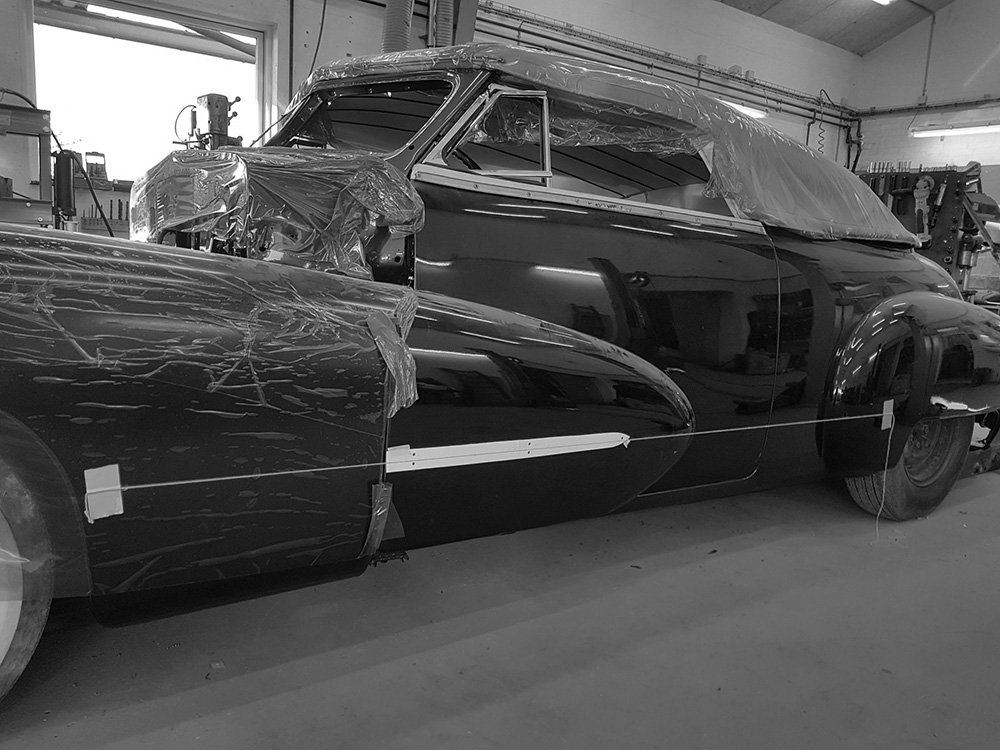
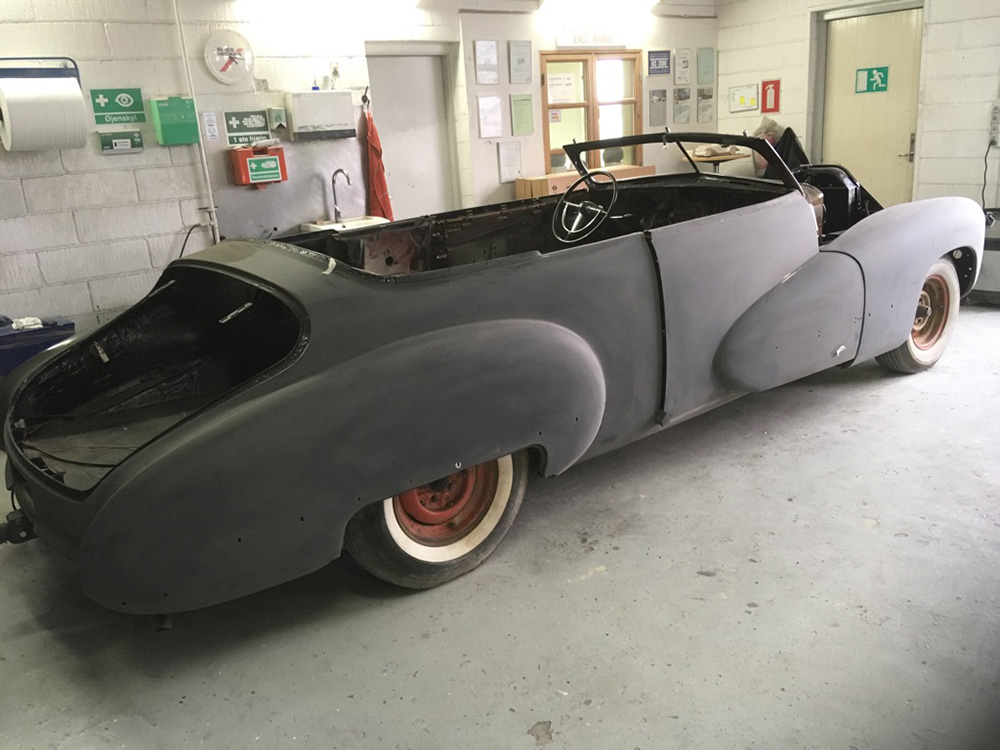
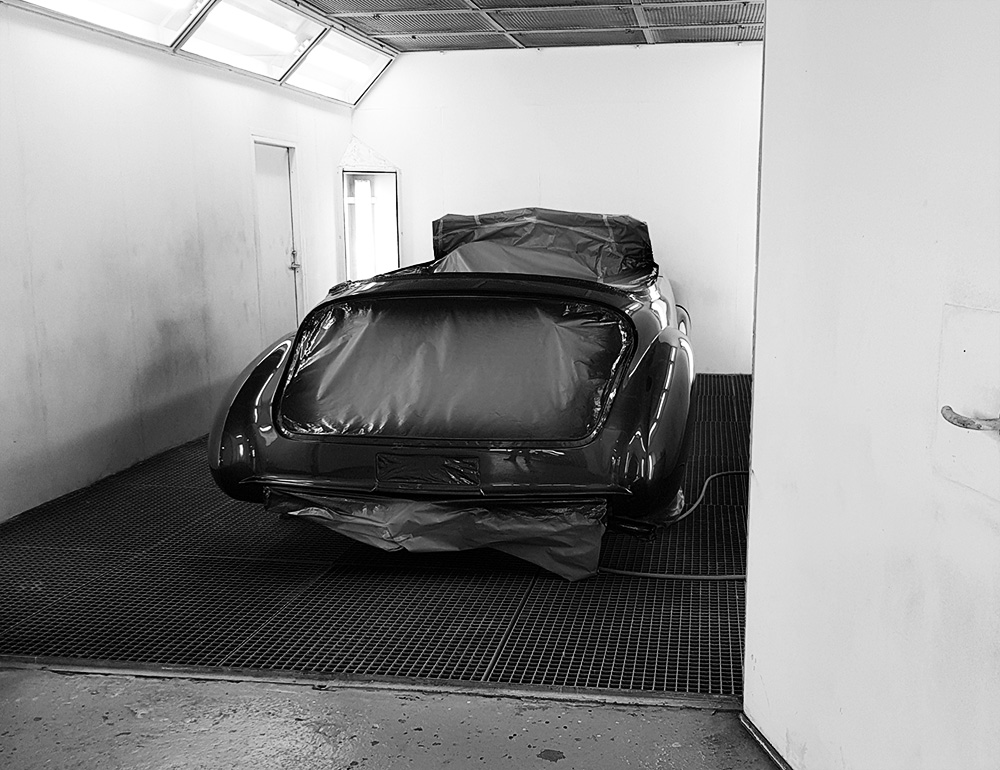
Some more progress on Palle’s 1947 Cadillac… well some… a LOT.
Interior, Paint, Chrome, Taillights…. Palle has been very busy with the Caddy over the winter. The painter just added the last coats of clear, and now its time to assemble and then in a few weeks the final rub out of the paint, and finishing of the interior.
For now… mostly black and white photos will have to do.
New home made taillights in progress…

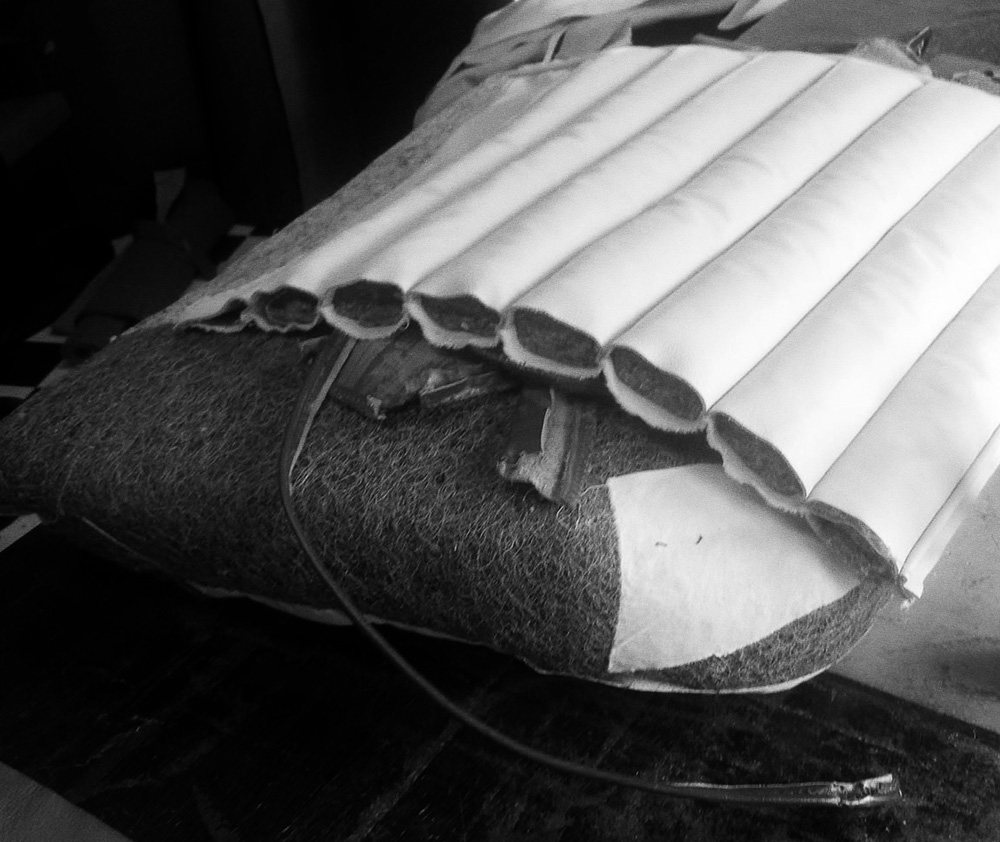
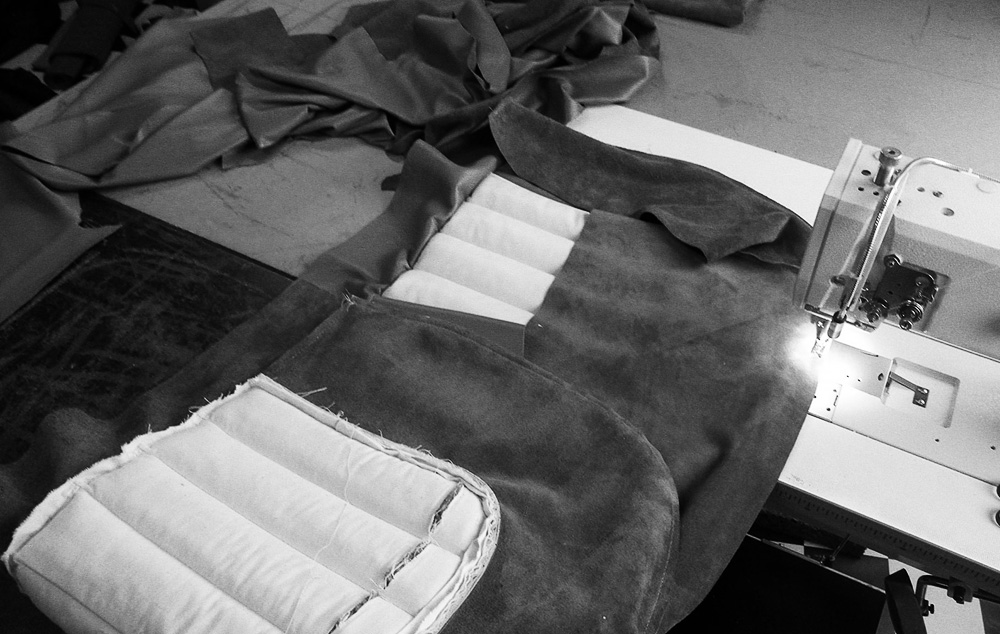
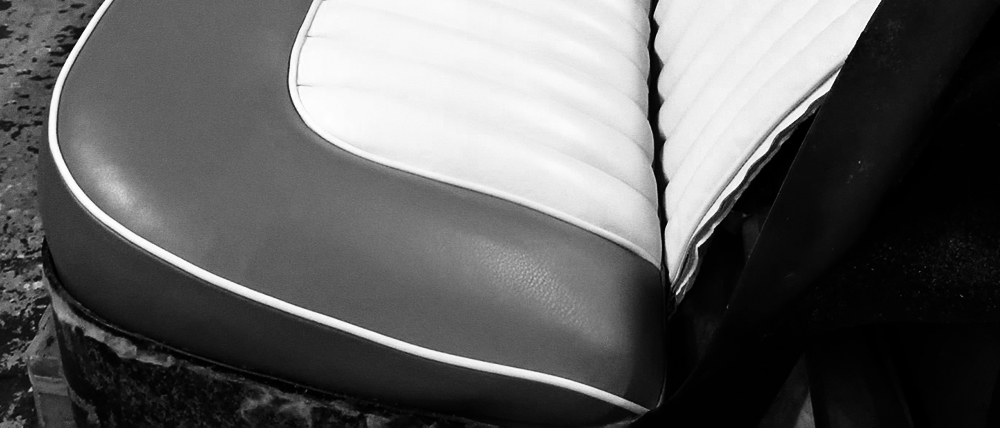
All new 40’s style rolled and pleated interior

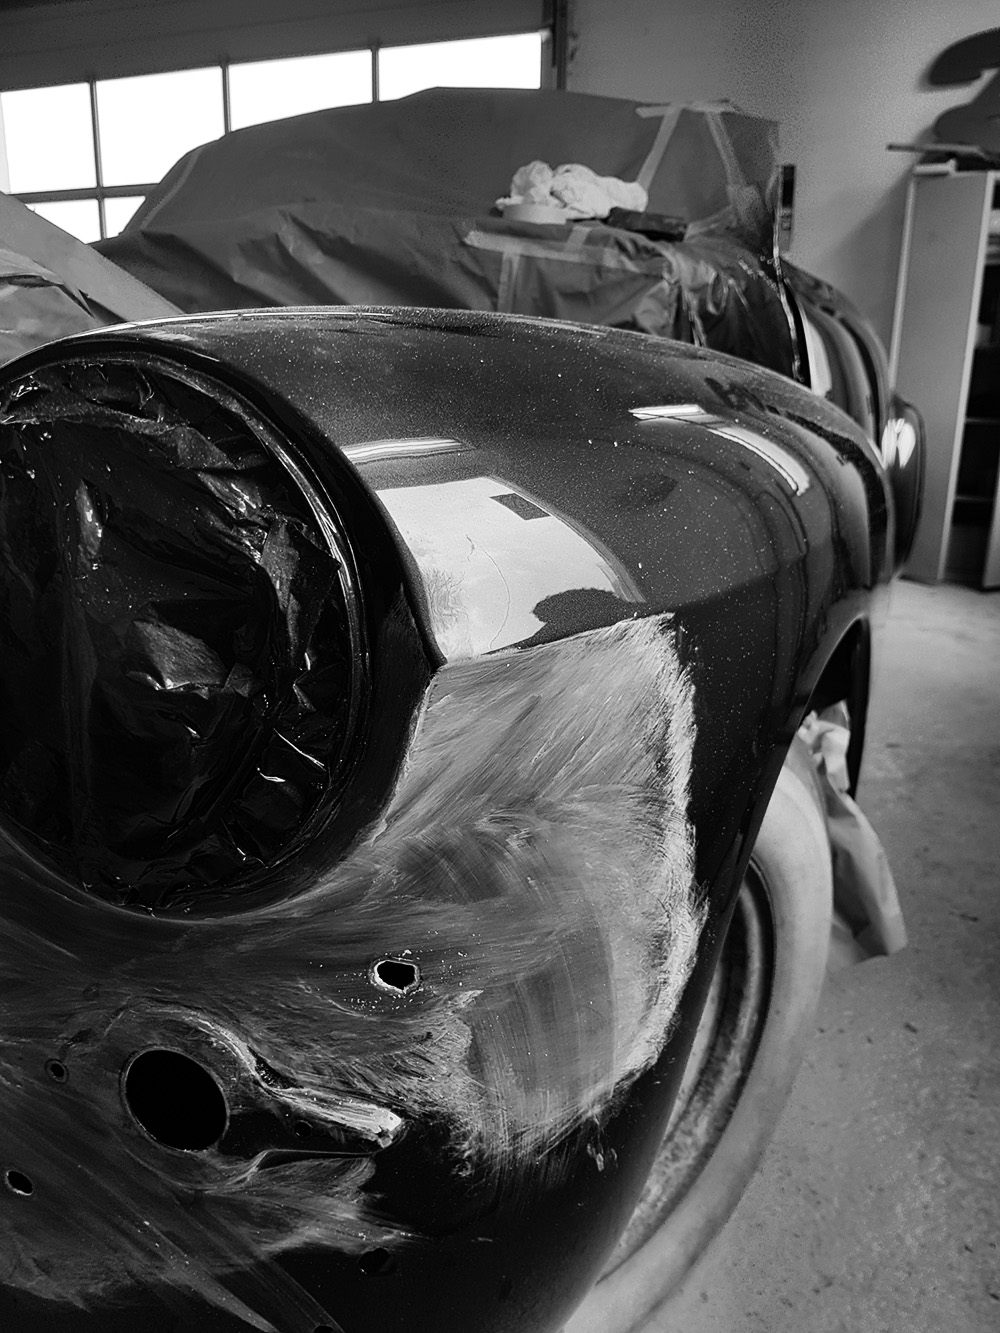
Before the final paint was added the gloss black paint was carefully sanded down to find any imperfections.
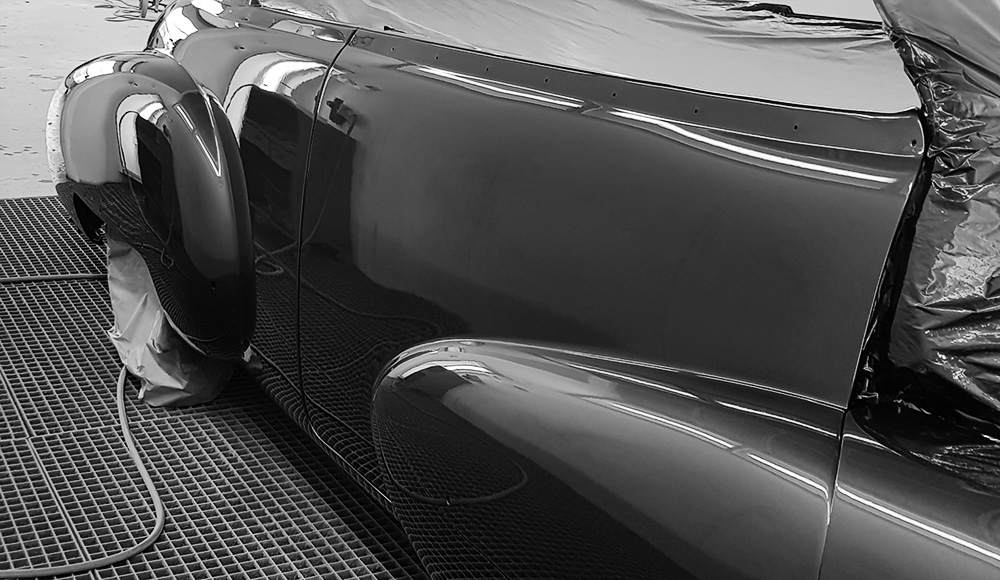
In the paint-booth, fresh paint, and the first coats of clear.
Sanding the clear before the final clear coats will go on.
Final clear coats added.

Enjoy the beauty of Customizing
-
AuthorPosts
- You must be logged in to reply to this topic.