My "37 Chevy truck build
- This topic has 324 replies, 23 voices, and was last updated 3 years, 7 months ago by
 Dave (a.k.a. rodncustomdreams).
-
AuthorPosts
-
February 20, 2014 at 02:21 #10342
 Ian GibbonsParticipant
Well I have been picking everyone’s brain about paint for my custom truck I am building so I thought I should put together a brief thread about it. I will sort of highlight the main things I have done to start with and then try to update as I go along which lately hasn’t been very often. I am trying to build it is a kind of Westergard style with the idea that maybe it was updated in the early 1950’s. I had already done the chassis before I got into traditional customs so it is a more modern take
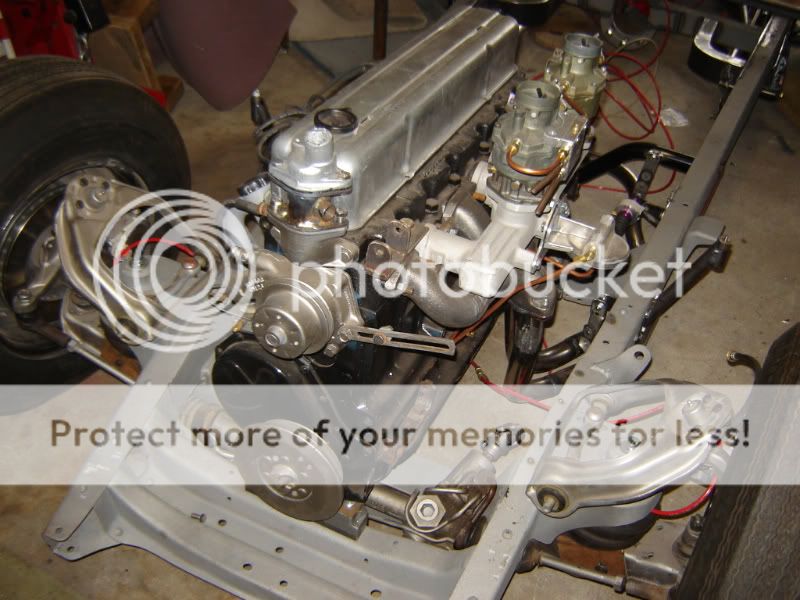
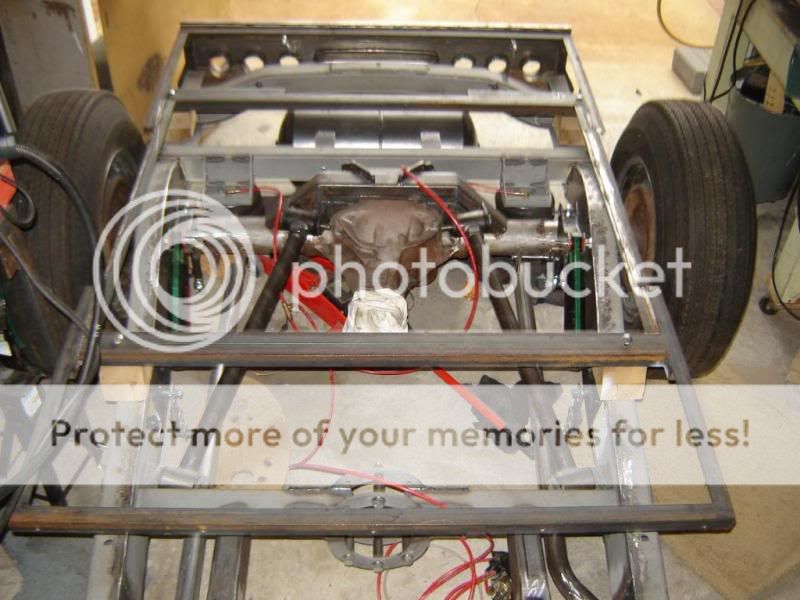
The Chassis is Mustang II, triangulated four link on airbags and a straight 6 engine with Offenhauser intake and Fenton exhaust manifolds.
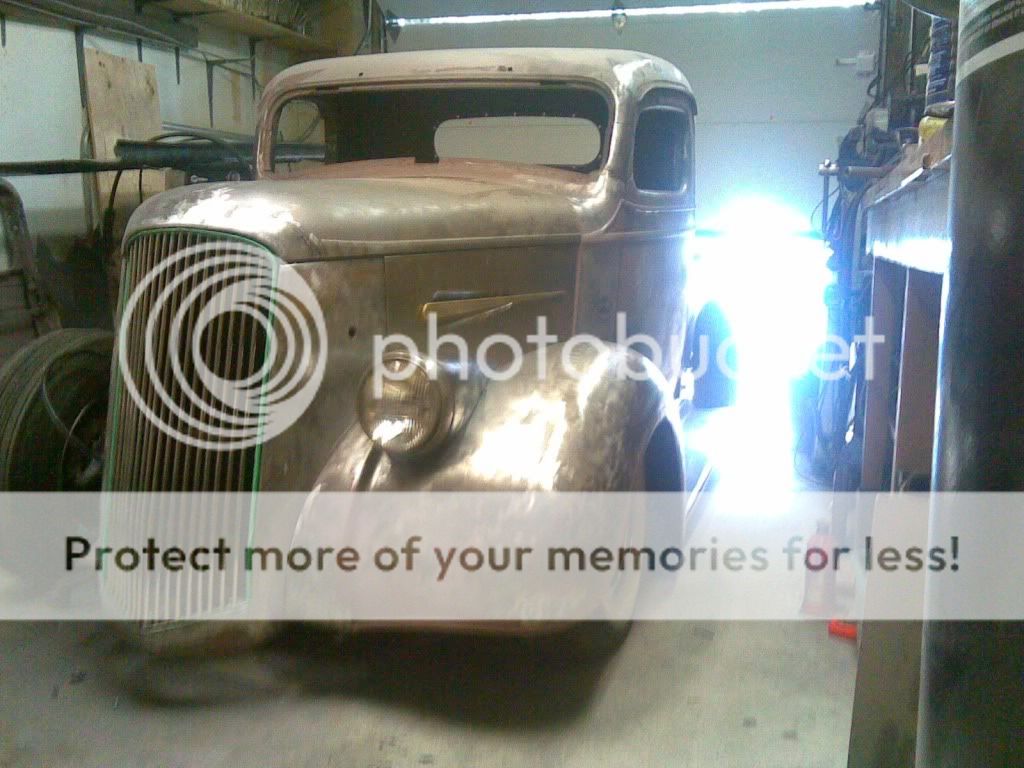
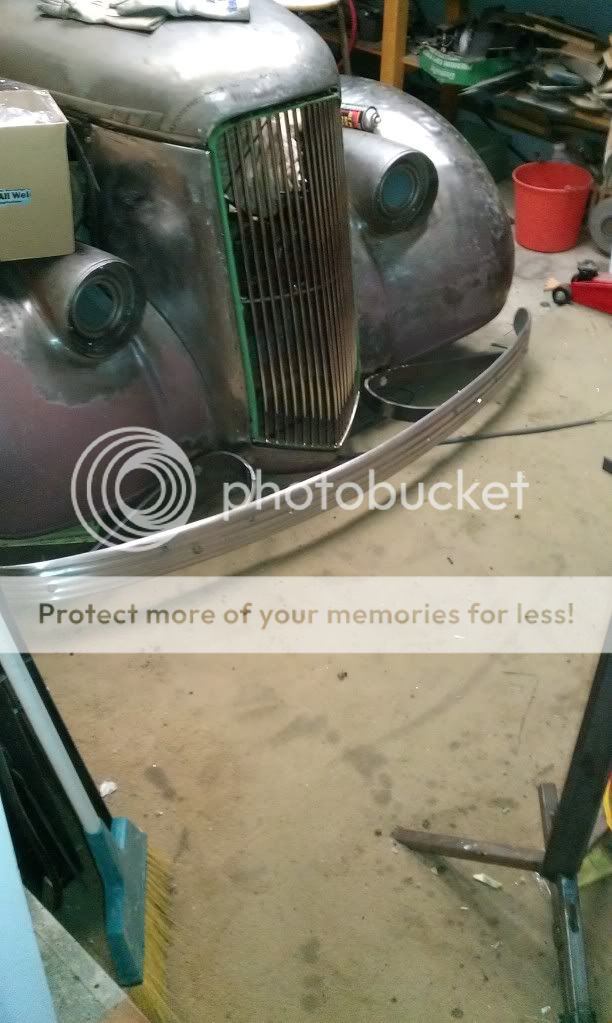
I chopped the top about 2″, made the hood one piece, built new hood sides and trim and built a new reshaped grill.
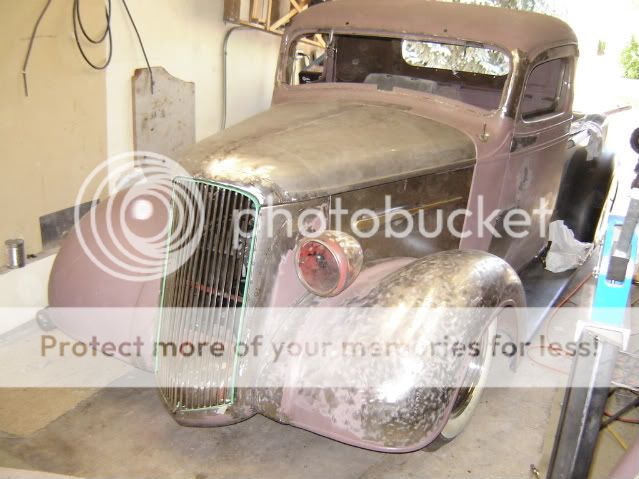
The next thin was to mold 1940′ Chevy headlights into the fenders.
Leaded in and with a Briz Bumper (can’t afford the real Mccoy :D)
 February 20, 2014 at 02:28 #10343Ian GibbonsParticipant
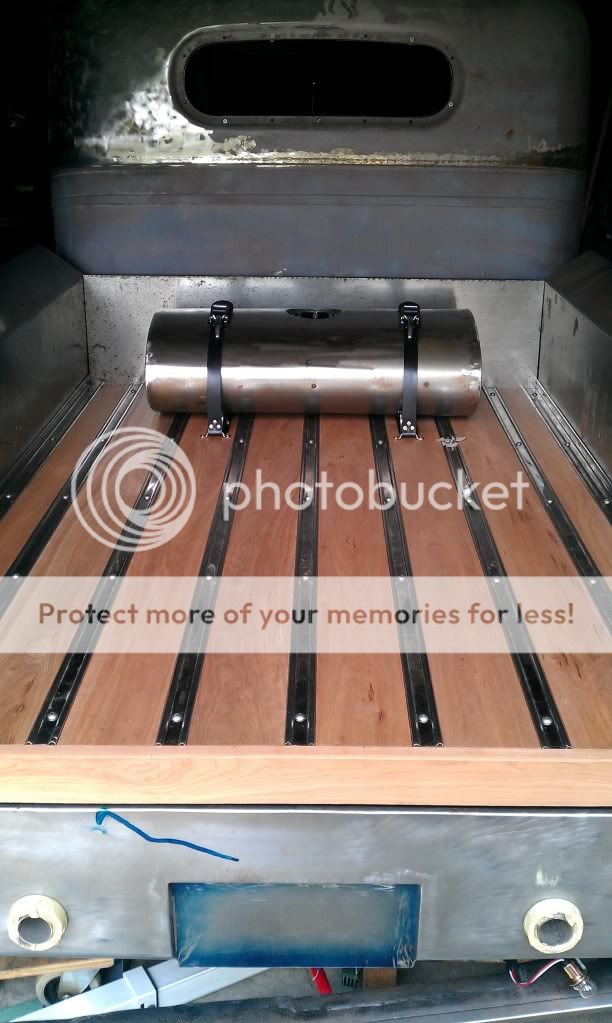
I have reworked the back end a number of times but this is the final version.
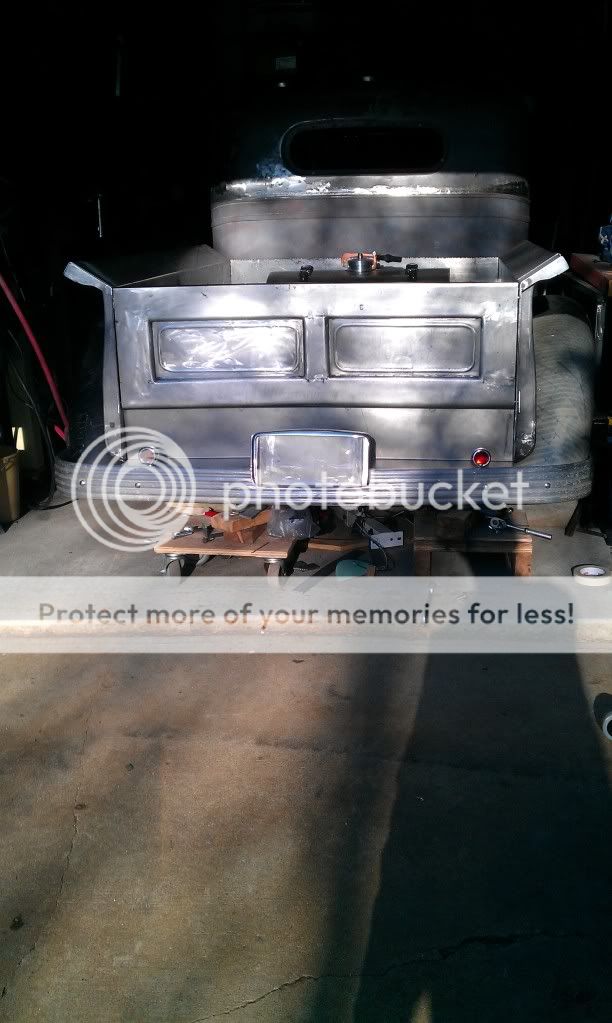
And inside the bed.
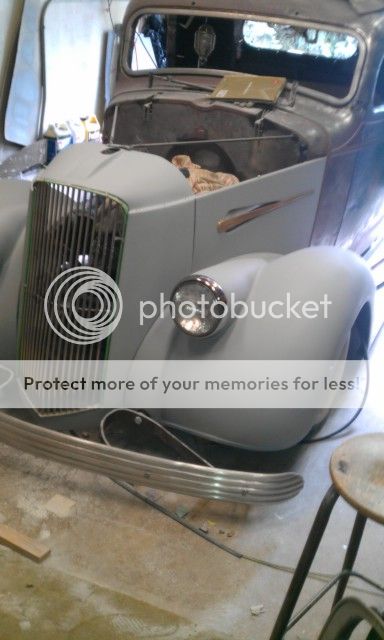
The front with some primer on.
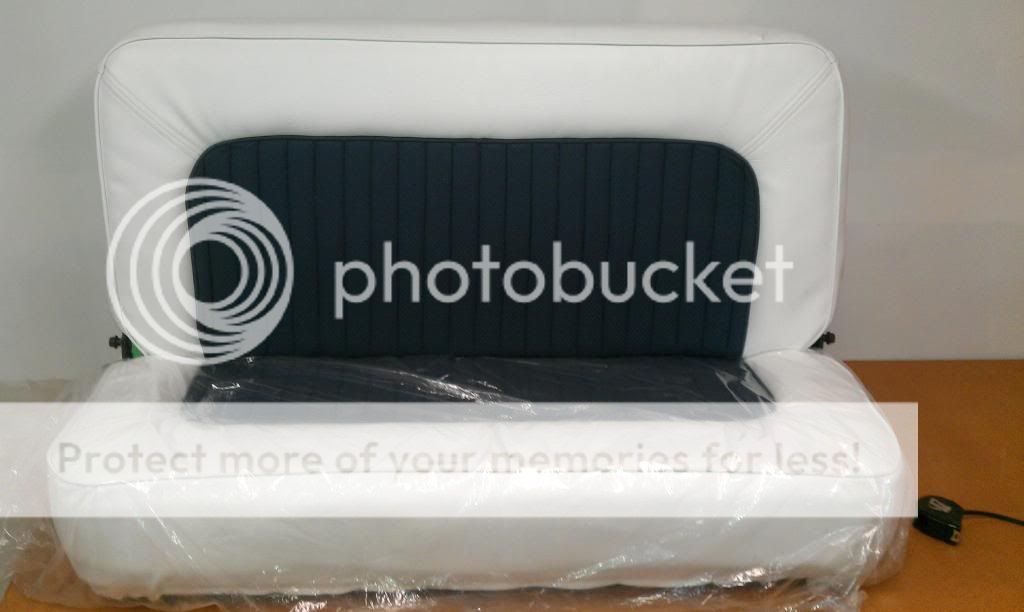
And then I tried my hand at some upholstery. Seat:
and door panels:
And that is pretty much where I am at now. Still working on the body work and finishing up some little stuff on the chassis but a lot of it is on hold until it warms up again.
February 20, 2014 at 04:30 #10344 Dave (a.k.a. rodncustomdreams)Participant
Ah, this is good Ian! I was wondering where that lemon-lime paint was going. 🙂
-Dave
Jus' creepin' along..
February 20, 2014 at 17:33 #10406 Jeff NepplParticipant
I like this truck and glad to see these pics again. I love how you did the seats,they came out really nice. To see it all dressed in Ayala lime gold would be great. !
February 20, 2014 at 22:04 #10410Ian GibbonsParticipantThanks guys! Hopefully the paint will suit it.
February 20, 2014 at 23:03 #10411 Rik HovingKeymaster
Man… that truck will be so awesome. It already is… but once painted in Ayala lime gold….
Enjoy the beauty of Customizing
February 21, 2014 at 17:18 #10471Ian GibbonsParticipantThanks Rik! I appreciate it.
February 21, 2014 at 23:07 #10474 Bert GustafssonParticipant
Very cool truck!
March 8, 2014 at 23:57 #11258Ian GibbonsParticipantQuick update on a few things I have been working on.
First I had to remake the inner fender panels due to the Mustang II. Once I did that I realized that I needed to get some ventilation going as well so this is what I did. First I cut the louvers out of the original panel.
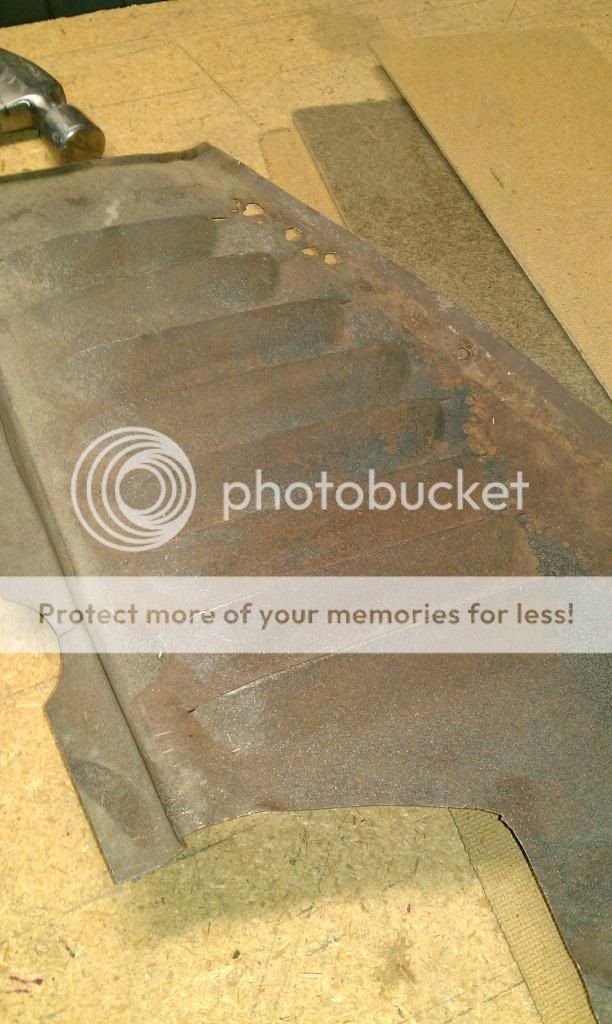
Then shortened them according to the area I had to work with:
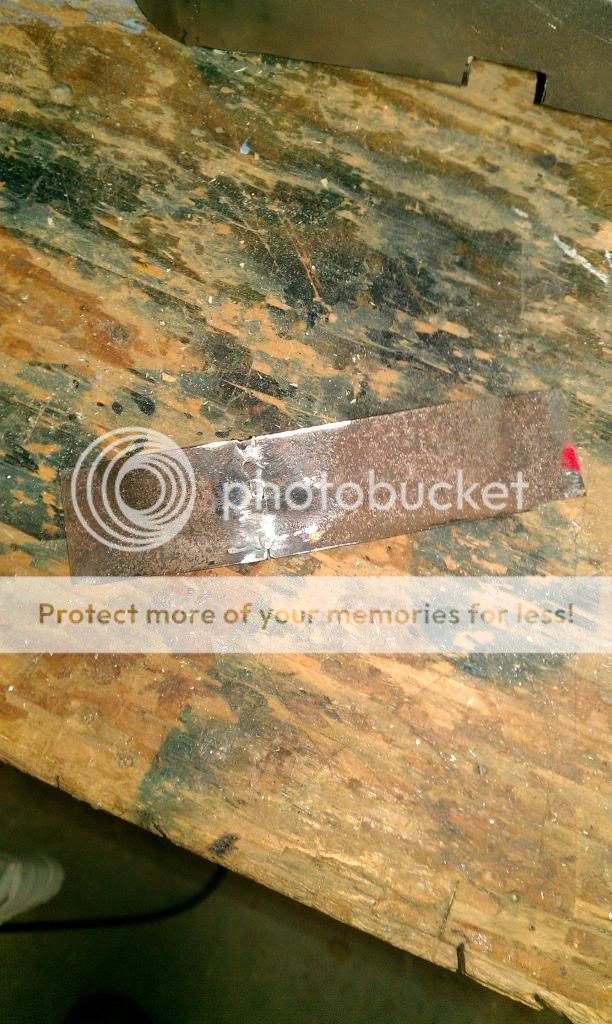
I then took the various length louvers I made and welded them into a new sheet of metal and then cut a hole in the side panel I had made bead rolled a recess for the panel to sit in and bolted it on.
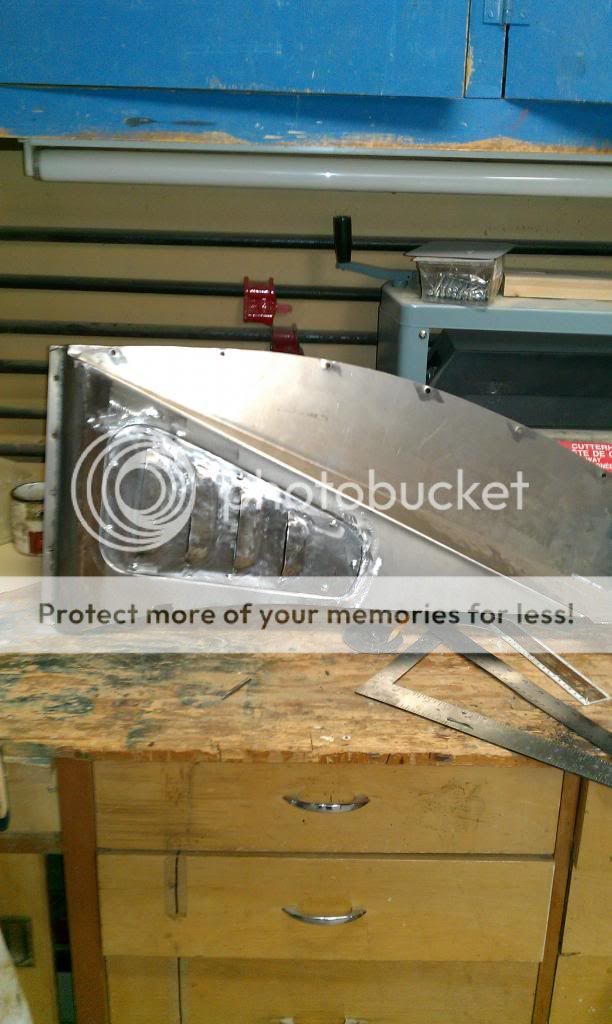
I have also been working on a steel headliner panel. It is slowly coming together. The openings are for pleated inserts like my seats.
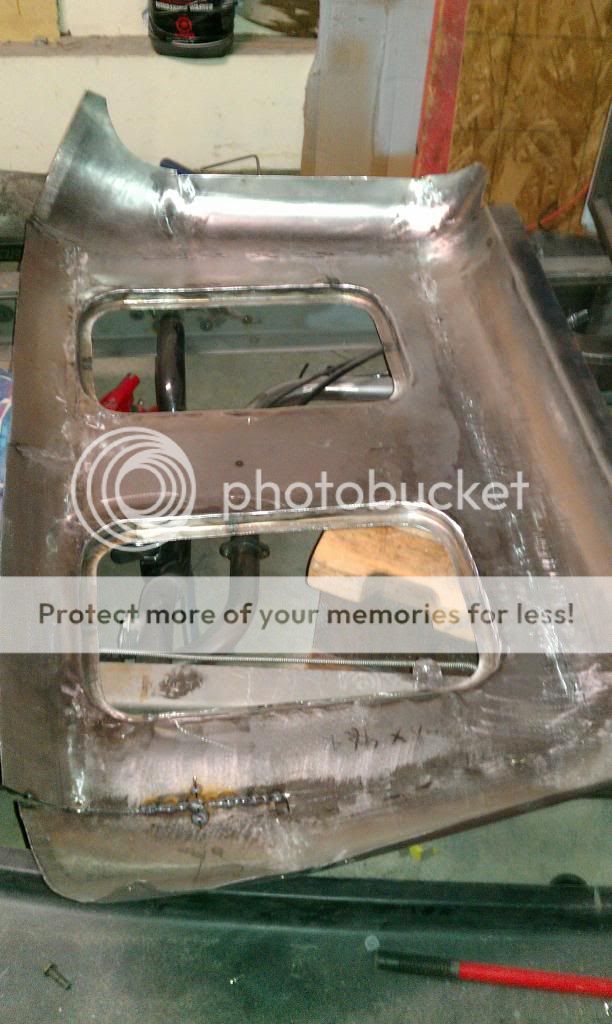
So that is where I am at now.
March 9, 2014 at 01:26 #11260 TorchieParticipant
Great looking truck Ian.
Very tasteful modifications.
It’s going to be a show stopper when it is painted.
Can’t wait to see it.
Torchie.March 20, 2014 at 00:32 #11547 Justin KudollaParticipant
Wow! This is really great. I like custom trucks, but most of them are pretty unimaginative. Another thing is that most people only built the ones built the various models from the 1950s. You have hit the nail on the head with this one. Great eye and craftsmanship. I’ll be anxious to see this one finished!
Trend Books Custom Cars Annuals
www.trendcustomcars.comApril 4, 2014 at 06:32 #12082Ian GibbonsParticipantThanks guys I appreciate it! Well I made the trip across the border (complete with getting pulled over by the police because my car fit the description of a border runner that failed to stop at the crossing right after me) to get some more supplies, the right powder and some gold lacquer paint, for my paint experiment and hopefully if it warms up a bit over the next little bit I will try another combination to see if it is a little closer to what I am looking for.
April 4, 2014 at 23:36 #12115 Stephen GotzParticipant
Very cool truck, really like the heads lights, very smooth indeed!
May 20, 2014 at 05:36 #13427Ian GibbonsParticipantWell I have been plugging away with the body work and I hate it but it needs to be done. I decided that I would spray some colour on my firewall and dash just to make it seem like I am getting somewhere. The pictures are not the best but it will give you an idea.
The fire wall is black 50% gloss.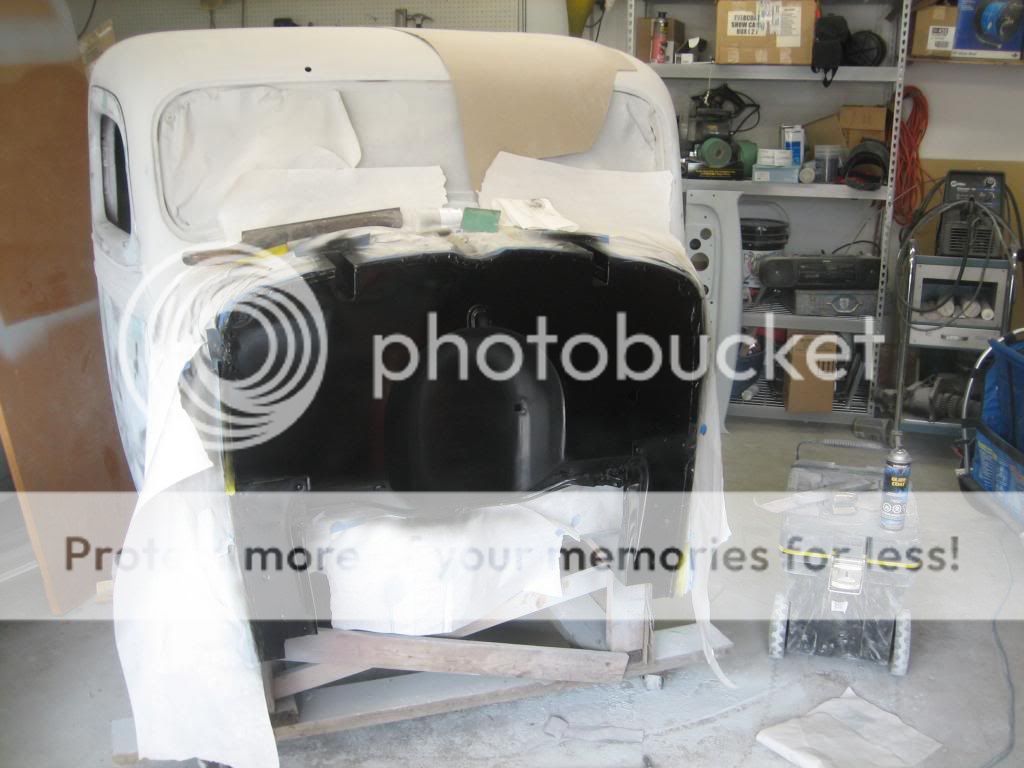
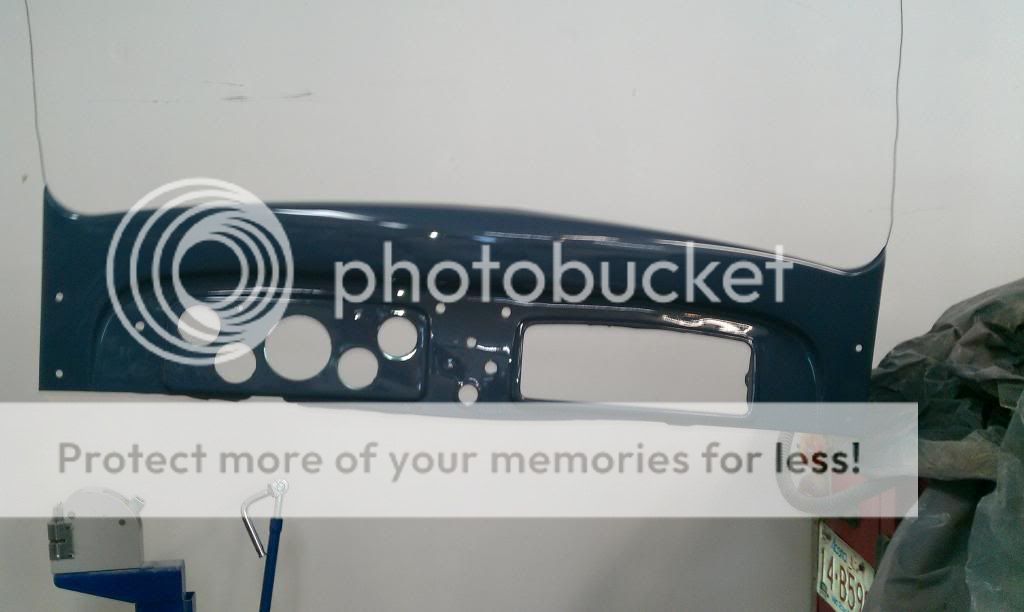
And the dash is a custom mix to be close to the blue colour I used for my upholstery.
So that is where I am at. I am off to California at the end of this week for holidays and hope to meet up with Manuel to see if we can figure out the paint colour thing a bit more.
July 14, 2014 at 22:00 #15176Ian GibbonsParticipantOk well I have been busy doing body work so the updates have not been very exciting but I have run into an issue while doing body work that I need to address and it is at least a little more interesting so here we go.
I had purchased fibreglass running boards back when I started this project many moons ago as they were the only option at the time and they were a little rough when I first got them but I had not rally looked at them very carefully until this week when I started body working them well long story short they are crap and the amount of work required to make them not crap is probably as much or more than making a steel set so they are history.
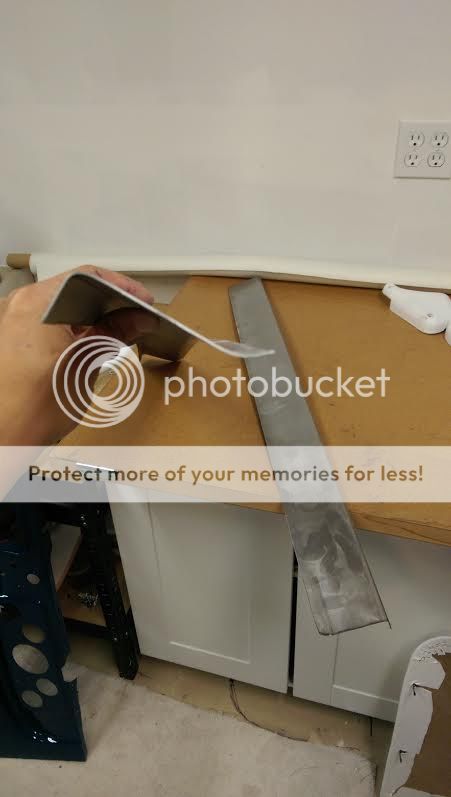
I do not own a brake that is long enough to make these in one go so I will need to make them in three pieces so this is piece one as it is the hardest part and I wanated to make sure I could do this before I proceeded any further. I didn’t do a great job at taking pictures so bear with me. First I cut the pieces of steel two per side the lower boar part and the flange that goes up from there.
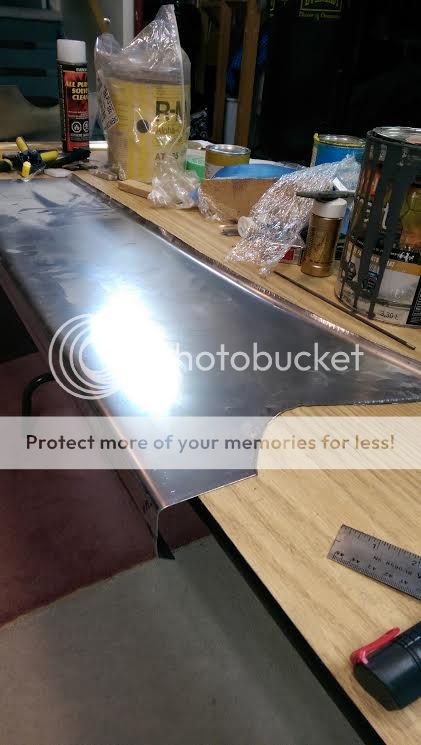
First the bottom. I rolled the bead that runs along the bottom of the board and then put 2 90 degree bends to form the basic shape:
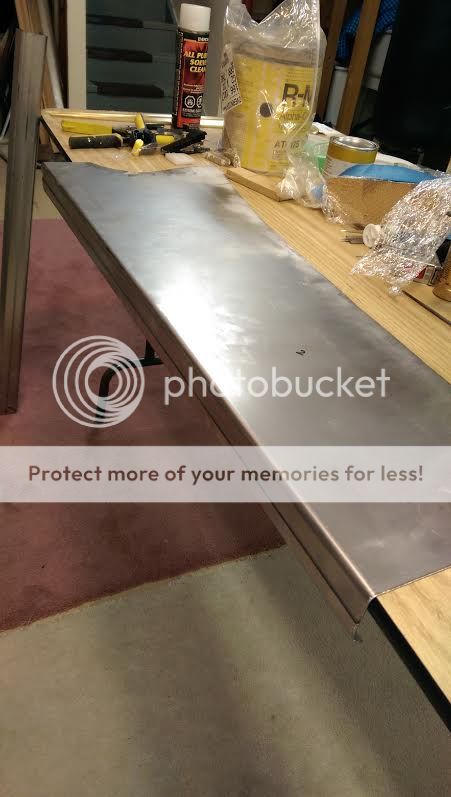
The I ran it through the bead roller with a tank roll to start the bend up for the flange.
Because the flange follows the shape of the bottom of the cab I had to do it in a second step so I could curve it. I put a 90 degree bend in it and then used the shrinker to shape it to match the curve of the board.
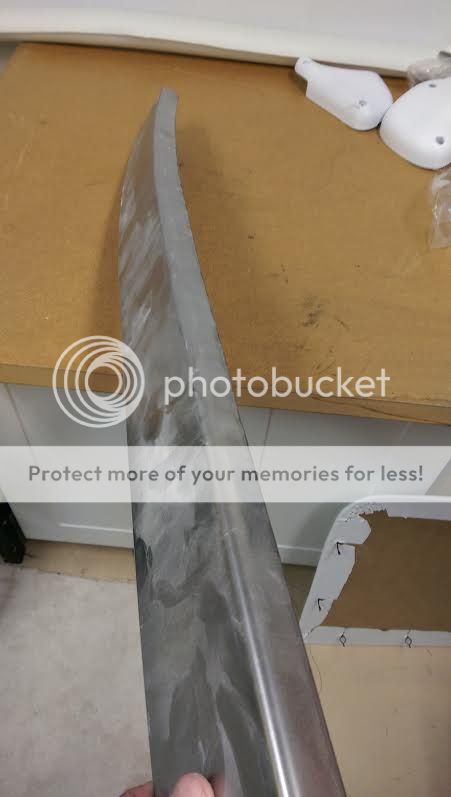
Then rolled a corresponding flare to the one on the bottom.
And then fit them together.
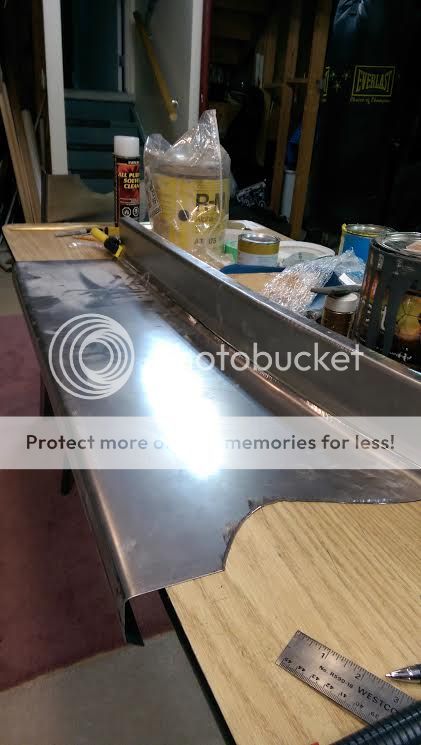
So I will have to repeat the process for the second half and for the tip that goes under the front fender.
I have also moved the chassis to my place and I am in the process of putting the body work all back together so hopefully in the next couple of days I can get some decent pictures of the whole truck to show.
-
AuthorPosts
- You must be logged in to reply to this topic.